After the 2018 holidays I looked around at my lack of organized supplies and how my work space had no space to actually work....isn't that what you should be doing in your studio is working/creating.
I decided that a deep clean was needed so I tackled my stash closet first, organizing was needed but first I pulled everything out, dumping it on the guest bed. To be totally honest I could only do a couple shelves of fabric at a time and I had to be brutal.
This was a small portion of the mess, we donated about 7 huge trash bags....hopefully someone else can really find pleasure in using all that fabric. Then we tackled yarn, I actually lost track of how many big Rubbermaid bins left.....the feeling of relief is great. Now you can actually find things in this room because everything is organized and "put away".
After this I moved to my actual studio space...
This doesn't look too bad, but if you look closely things are piled every which way and there wasn't anymore room to put anything on a shelf....so....every thing got touched. A few years ago I actually got rid of any books I was no longer interested in, things I had moved beyond, techniques I had no interest in ever doing. This time most books stayed, everything else was sorted through, recycled, labeled. I can actually find things and now I actually have room for new "stuff".
Wow....you can actually see the floor, under the tables are empty and my "table buddy" could lay in the sunshine because there was room for him. This has changed a bit since the photo because my stereo receiver died and the new one is bigger, bulkier. It almost killed me to given in to cluttering up the space again, but it was either that or no music....that just wouldn't work, I need music.
The Thermofax had been taking up space on the work/sewing tables, if I really needed to spread out I had to put it on the cutting table and then back again. So....Managed to find a cart (that I already had) for the Thermofax machine and roll it under the cutting table with a white Singer featherweight riding along ...perfect spot, can easily access the Thermofax machine and the sewing table now has room to actually work on it without doing gymnastics.
Reality struck, prepping for the upcoming shows and filling orders had priority. Cleaning, organizing got put on hold in order to get back to dyeing fabric, first needing to mix those dyes and fortunately the weather cooperated with me....
Problem was getting to my respirator.....so I grabbed a mask and went to work...notice the door is open and the sun is shining....rather unusual around here this past 6 months, more rain than sun it seems.
Our online classes began February 11th, so we needed to take time to make a few videos...I grabbed my phone and took a photo or the camera person...dear daughter didn't know I was taking her photo but I loved it.
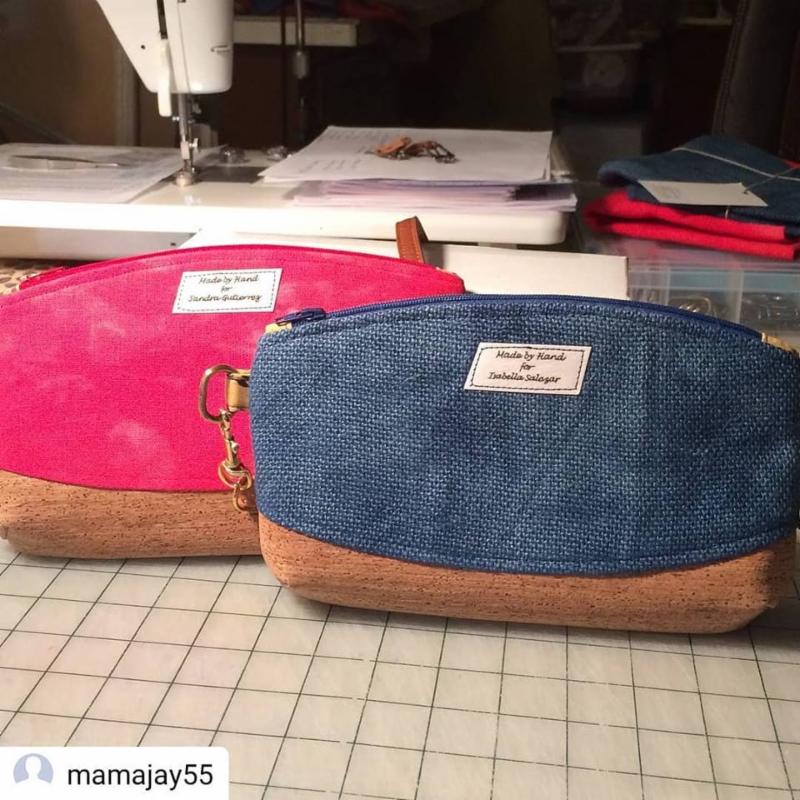
To try and act like I wasn't taking her photo I took a couple of the work table, this photo shows the items in the kits the students recieved in one class.
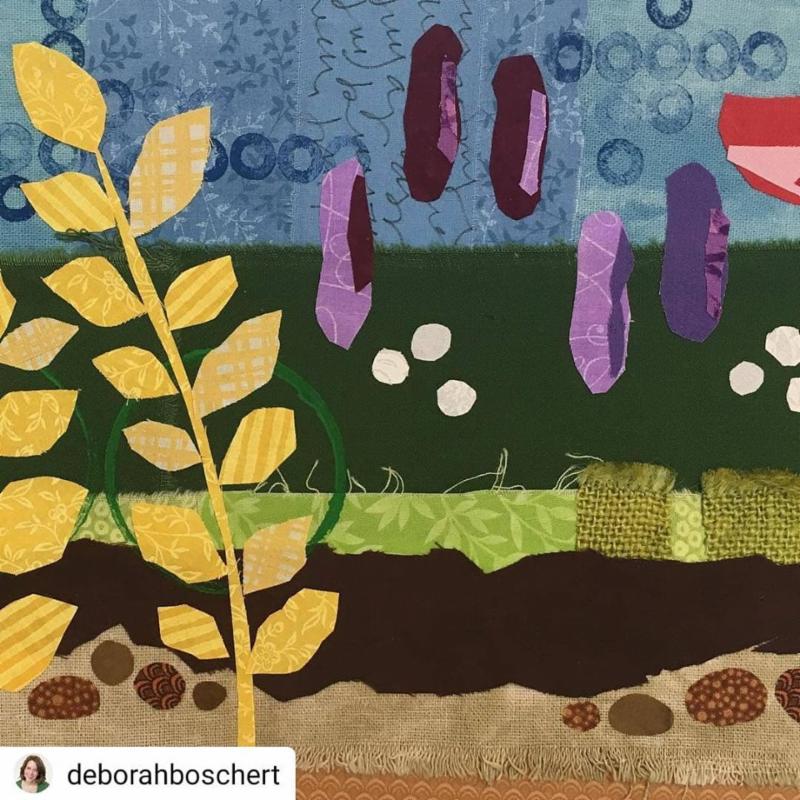
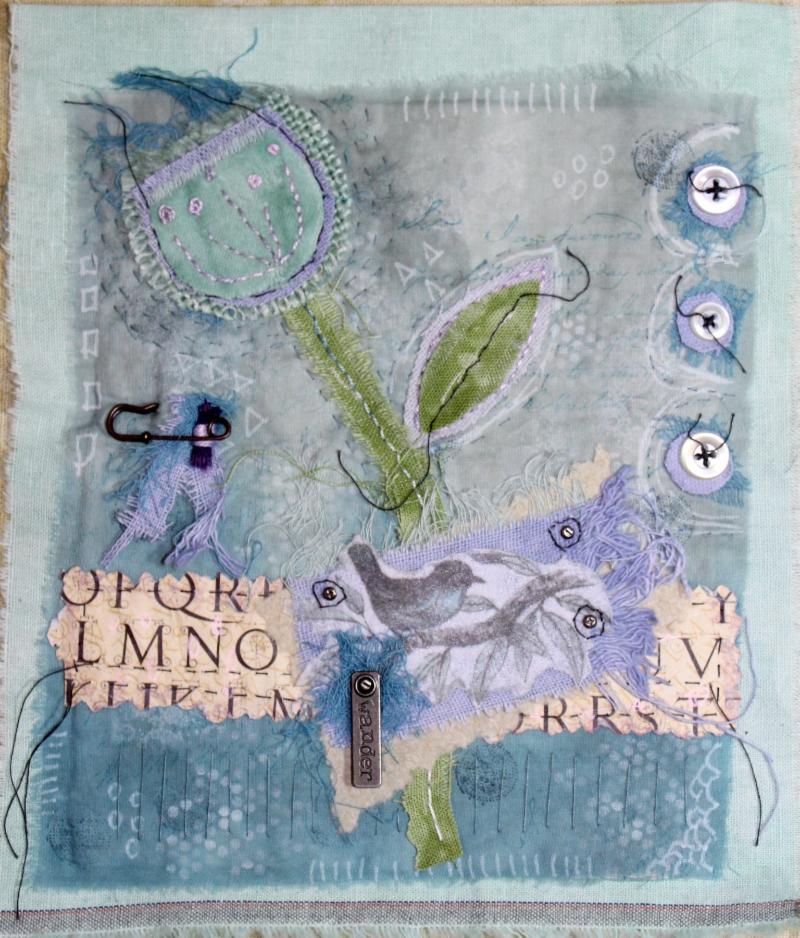
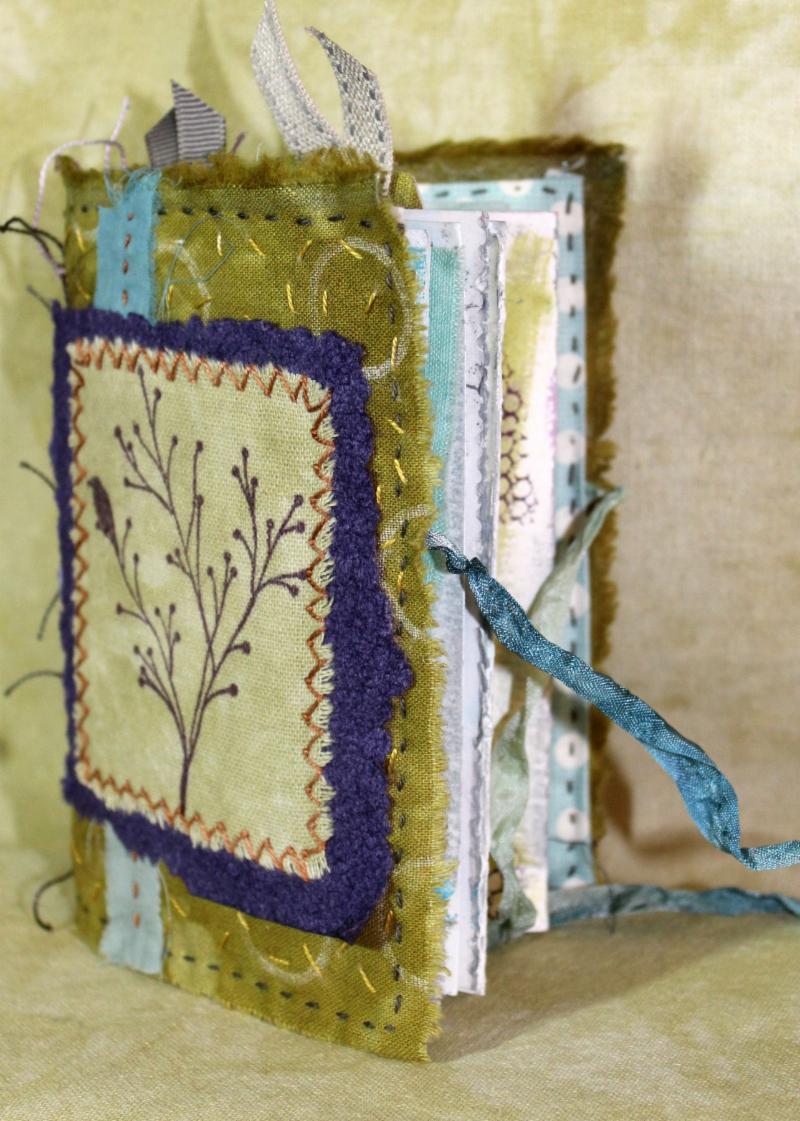
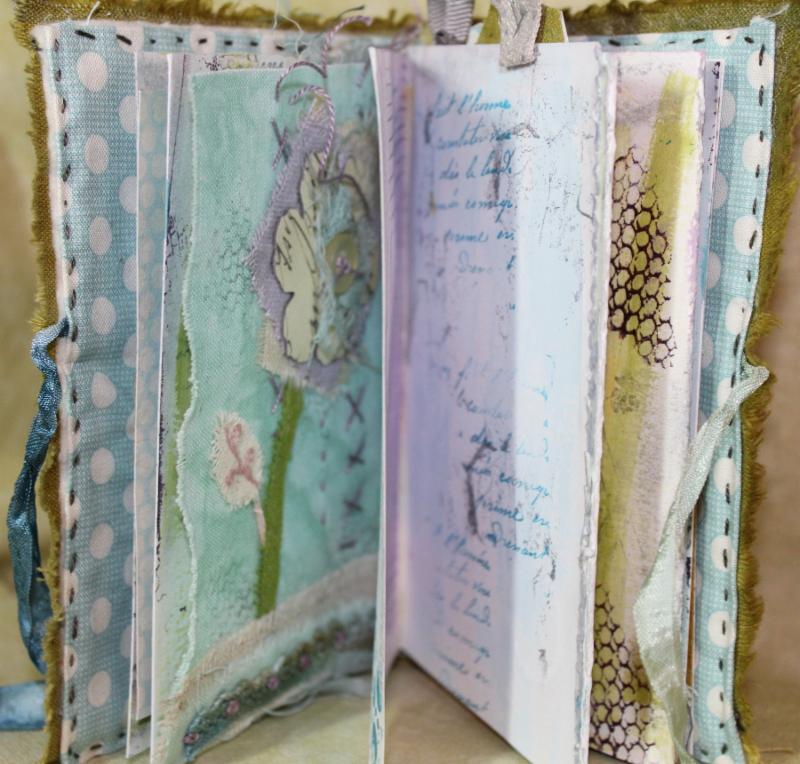
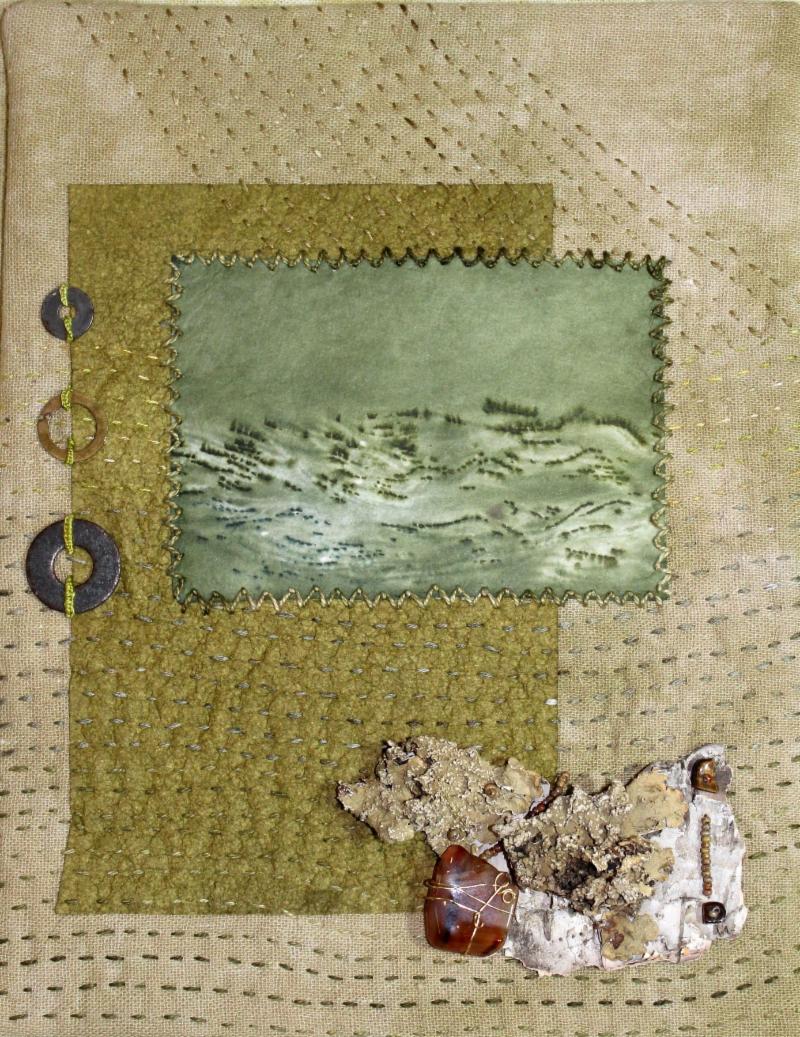
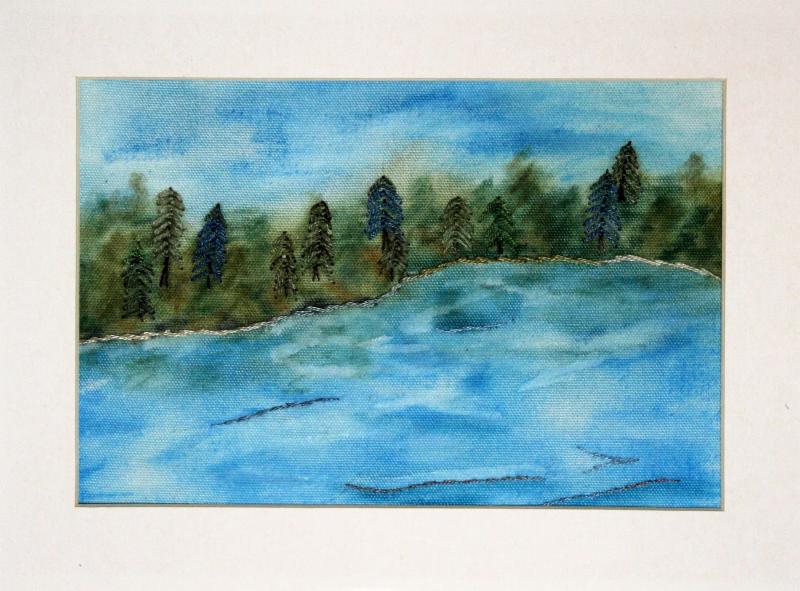
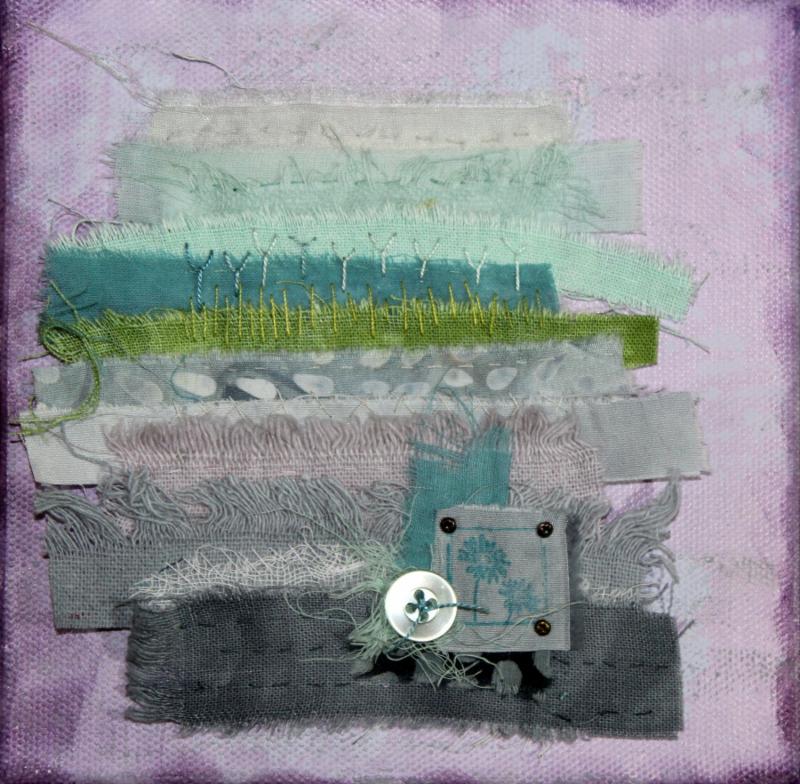
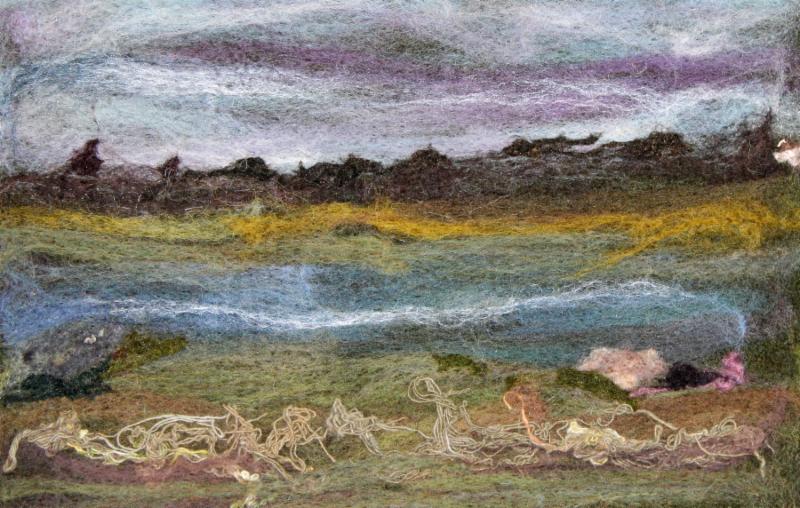
This class is called "Layered Pages", here's a peek at the project;
My studio is clean and ready to create in; however, it is so empty it hurts as my "table buddy" passed away since I took the photo of the work table. It feels so very weird to sit at my machine and not have his little face looking at me and hearing him bark out the window. Miss you Rocket Man!
Thanks for stopping by and I hope you will again.


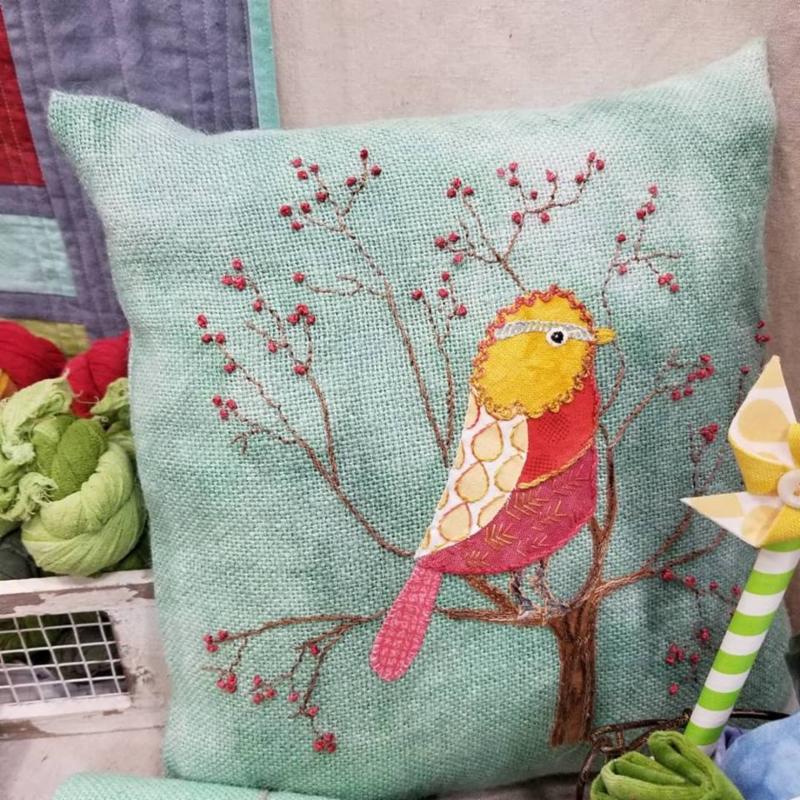
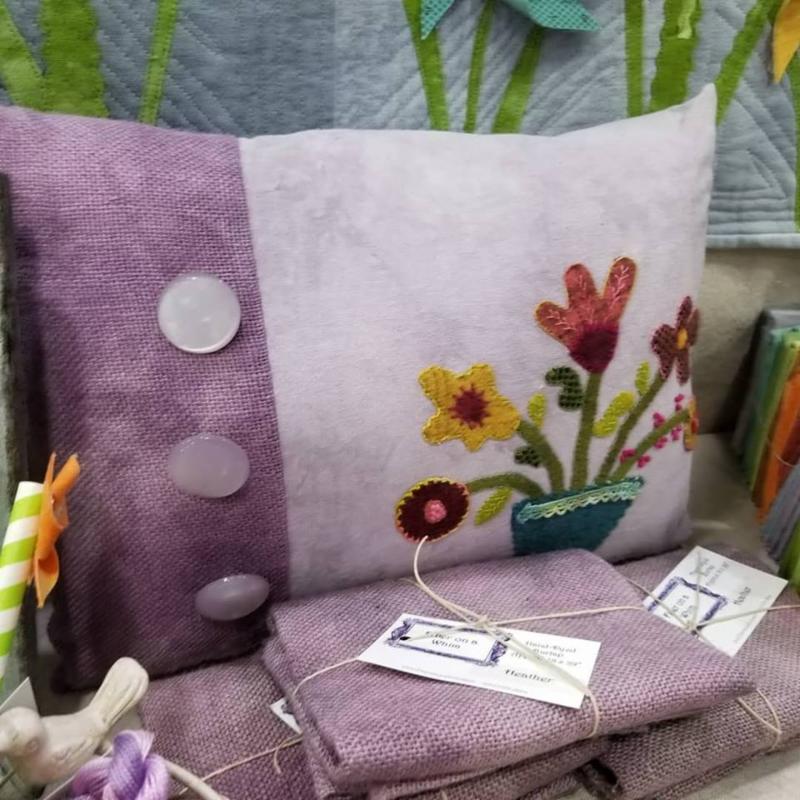 This pillow uses burlap and osnaburg in Heather; a new color introduced at market. The flower basket is wool applique, using Mary Flanagan Woolens.